Use keywords to find the product you are looking for.
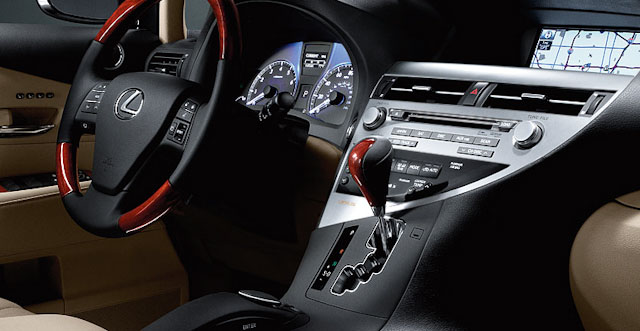
2010 Lexus RX
Piping hot! We already have it B&I 2010 Lexus RX dash kits to make your fresh ride the freshest. B&I offers you the automotive innovations for the customization of 2010 vehicles.
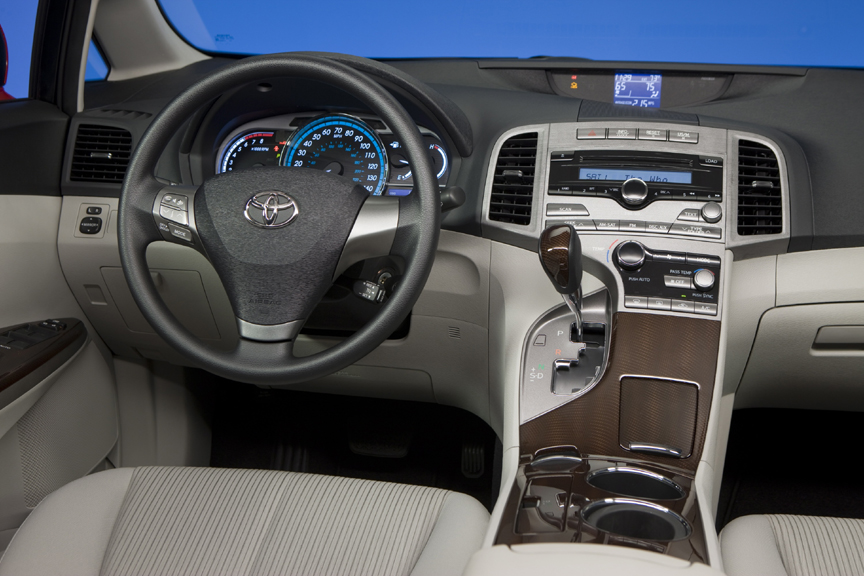
2009 Toyota Venza
Choose from the wide range of premium surfacing materials to pick the perfect match for your 2009 Toyota Venza.
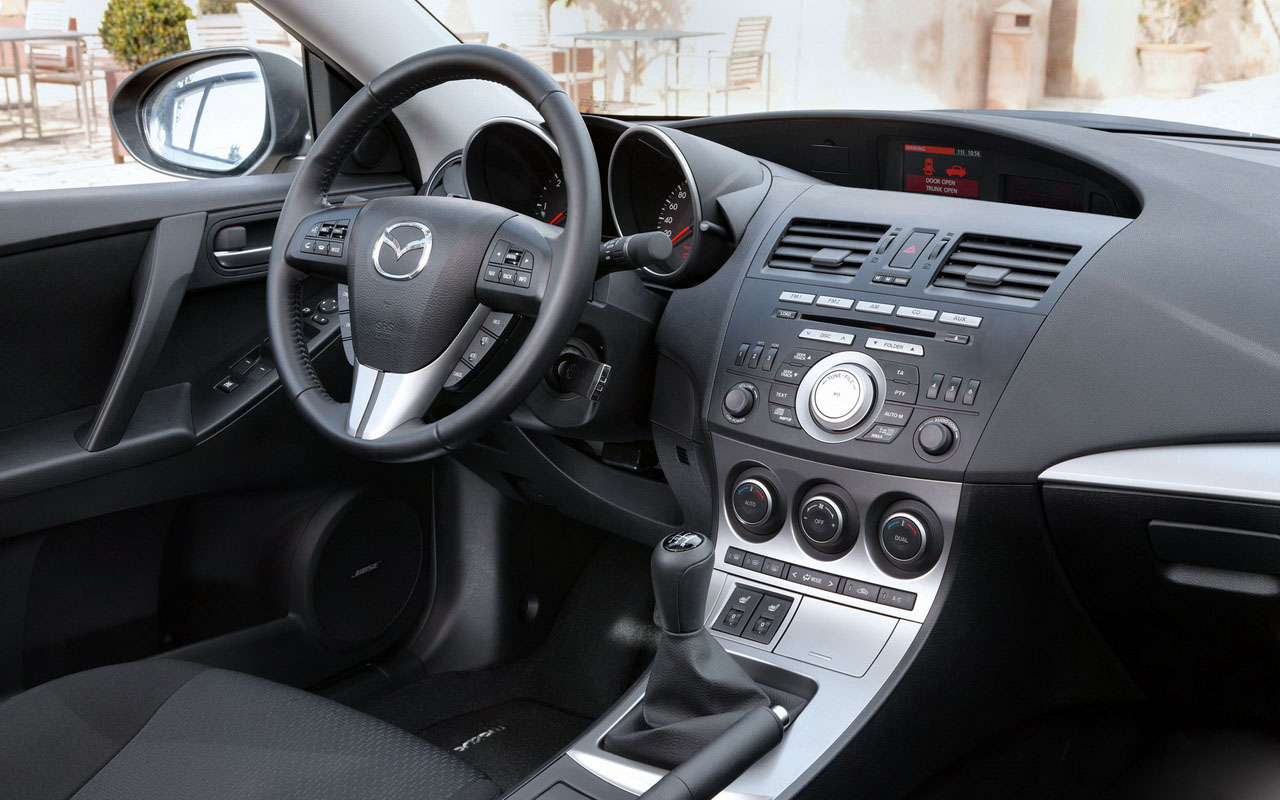
2010 Mazda 3
Shop for 2010 Mazda 3 dash kits here at WoodView. We will help you personalize your new Mazda to bring even more comfort and luxury to it's interior that will never wear off.


EASY INSTALLATION
 All of the dash kits we sell come with detailed guide for do-it-yourself installation. You can follow the guide below for both flat (2D) and molded (3D)dash kit elements.
PREPARATIONS:
1. You must ensure that interior vehicle temperature is at least 72°F.
2. Read the instructions that come with specific dash kit carefully to determine any special aspects your type of dash kit components:
FLAT DASH KIT - Flat dash kit elements, not 3D.
MOLDED DASH KIT 3D dash kit elements and thin components.
3. First install the smaller pieces, to get familiar with the installation process.
IF YOU APPLIED ANY DASH TREATMENTS LIKE ARMOR-ALL, wipe the dash surfaces that dash kit elements will be applied to with clean cottong cloth, damping it with the Wax & Grease Remover. trim will be attached to, with a clean cotton cloth moistened with Wax & Grease Remover. Ensure that the surface is oil free. Avoid using stronger lacquer thinners as they may eat through the plastic and ruin the lettering. If needed, repeat the process, applying new clean cloth every time to ensure the dash is thoroughly cleaned to avoid the problems with adhering. We recommend using Prep-ALL Wax & Grease Remover.
LET'S START!
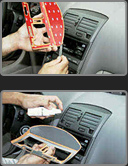
STEP 1. DASH KIT TEST FITTING
 Note! Do the test fitting without removing the red liner and exposing the adhesive! Place each dash kit element over the area that it is applied to and ensure that each piece fits correctly in its place. If any piece does not match or appears to be damaged, please contact us right away.
For installing 2D dash kits this process will help you locate and lightly mark with a pencil the areas that will be covered with 3M Adhesive Promoter later on.
* During test fitting, please ensure that all buttons and vents move and work freely without touching the dash kit elements.
STEP 2. PREPARATION AND SURFACE CLEANING
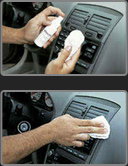 Using Isopropyl Alcohol, thoroughly clean the dash areas that the dash kit elements will be applied to. Ensure that surface area is free of any lint or dirt, especially the silicone based "Vinyl Treatment Products". Such products leave a silicone residue that greatly reduces the kit adhesion.
Note! If your vehicle was treated with Vinyl Treatments it needs to be thoroughly cleaned. Ensure that the dash surface is dull in appearance, and you find no feel of residue when touching the dash with your fingertips. Especially this concerns used vehicles. You may test the surface by trying to adhere a piece if masking tape.
STEP 3. ADHESIVE PROMOTER (2D Dash Kit Elements Only)
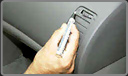 Treat all areas that will be covered by the dash trim with 3M #4298 Adhesive Promoter. Allow the areas to dry (5 minutes) prior to applying trim pieces. (Note! Flat dash kit pieces only!)
Note! The Adhesive Promoter is really corrosive, do not drip it on any dash areas that are not covered by the Dash Kit Trim, because it will permanently discolor any dash material that it comes in contact with. We also recommend putting on rubber gloves. This step is very important and it determines the quality of installation.
* Adhesion Promoter packets and pens dry up really quick. The application of promoter must be performed quickly (yet carefully).
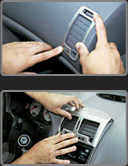
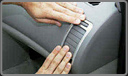
STEP 4. DASH KIT INSTALLATION
 Using Standard Utility Knife peel off the corner of Red Liner on the 3M tape and remove on all pieces. Do not handle the elements for 72 hours for better adhesive.
3-D Molded Dash
After removing the Red Liner completely, apply the "Dash Spray" provided with the dash kit and lightly mist the tape surface to reduce the tape tack upon first contact. This will also help to reduce the premature contact and prevent the dash kit elements from bottoming-out completely.
Once you have placed the element comfortably, apply the overlay straight and even only! Not from side to side. Then apply gently by pressing down with moderate pressure, until the dash kit element is properly placed. Once in place, inspect all dash areas for adhesion, gently press down where needed.
STEP 5. FINISHING TOUCHES
 2D Dash Kits
After removing the Red Liner, press gently to place the dash kit element in its place. To avoid center buckling when installing larger dash kit elements, do that from left to right. Do not force any element that needs bending. If the element resists to bending, apply Hair Dryer as a heat source to soften the element and make it easier to bend for installation into its place. After placing all dash kit pieces correctly, give each one a final press with the fingers, this will play the role of final visual inspection before the tape cures.
OTHER AUTOMOTIVE ACCESSORIES
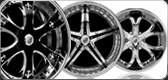
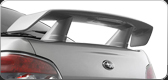

We know the best choices of Wood Dash Kits, Billet Grills, Custom Spoilers, Chrome Accessories and anything else that will make your ride a true reflection of your personality. Take charge when it's your fingerprint involved. We do not waste time with generic names and limited choices. The most products, the most styles, the best value this makes WoodView your vehicle's online personal wardrobe!
Our staff is always here for you TOLL FREE at 1-800-505-DASH.